STEAM Portfolio 2019
Filming Stand
The Problem
The Original Problem:
Students at school often have to use film as a way to show their work, but the ability to film by oneself is a problem. The student is unable to use film as a way to show their learning because there is no way for the iPad (every student receives one) to stand by itself.

The Redefined Problem:
I need to create a product that can allow for an iPad to stand by itself and film a student.
Constraints and Specifications
Constraints:
-
The stand can be made using materials found in school, or that I find myself outside of school, or printed on the 3D printers
-
The creating prototype part of the project should be completed before April 11th (about 3 class blocks)
Specifications:
-
The stand should have the ability to film by itself, preferably in as close to vertical as possible
-
If possible, the stand should also be able to hold a phone
-
The stand should fit different sizes and styles of iPad and phone cases
Brainstorming/Pros & Cons
Of Possible Solutions
***Note I added these two step in the problem-solving process together because when actually creating the product, this is how I documented my thinking process.


This is the solution I will try and create
Creating a Prototype
Because of the major time constraint of this design challenge, I wanted to be very careful with how I planned and used my class time.
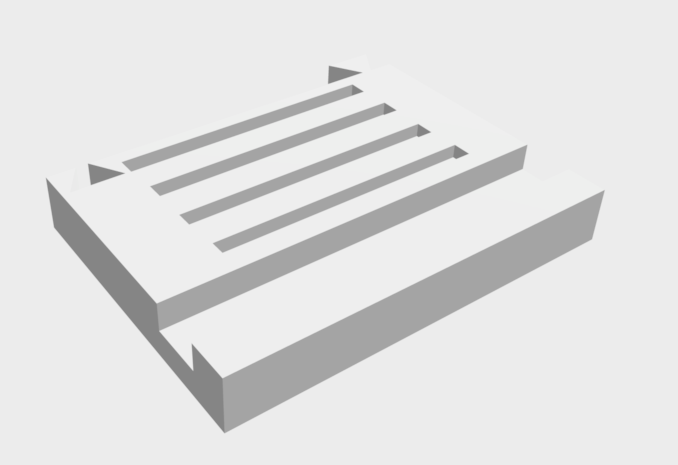
At first, I thought that measuring and cutting wood would be the best option. However, as I looked over my designs I thought that maybe using the 3D printers would be better. Click through the picture below to see some screenshots of the designs I created of my final prototype, as well as my final sketches to create my product. I only printed my very final prototype design because of the limited time available, because of this I talked to my teacher and improved on my design multiple times before actually printing anything.
The Final Product
These pictures are evidence of the final product working. I tested it with a phone, and a school iPad. Please note, that the additional pieces had not yet printed when these pictures were taken. So instead of using the plastic and super glue or rubber on top to keep the iPad steady, I used a piece of cardboard to hold it in place. The end result still worked with both devices and was able to be used to keep them filming at a vertical angle.
Ways To Improve
Though my first prototype of this design was successful in trial, if I was able to create a second prototype there are a few things that I would improve upon. For example, both sides of the stand have different size slots for the devices. I would make the smaller slot a little bit bigger because it was too small for the phone that I used as a trial. It may still work for a phone that is slimmer and does not have a case, however, I think that it would be more successful in general for that slot to be bigger. The second iteration that I would make would be to add rubber to the bottom of the additional pieces as well as the top. This is because the additional pieces don't fit perfectly into the slots, so to make the device more stable it should have a grip on both the top and bottom.
Overall, given the time constraints and the specifications for the design, I believe that my first prototype was a success. Let's see what we are able to create next!


